
 So the ombré look is in for the summer, and we all want it. Well here are a few tips on how to do it at home with L’Oréal’s ombré hair kit.
1. Prep: Make sure your hair isn’t tangled. You’ll need smooth hair to brush the product through.
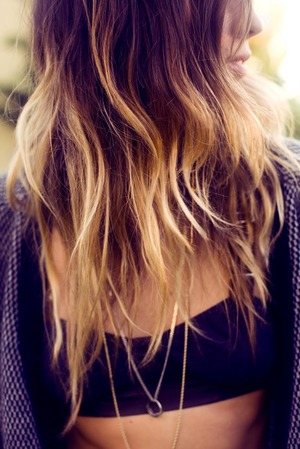
2. Application: If you aren’t sure where to begin the fade, start by your mouth. You can control the color gradation from your natural base, depending on how long you leave the product in (anywhere between 20-45 minutes.) Do a test strand, aiming for 20 minutes and check it every 5 minutes to see how you like the color.
 3. Worried about brassiness? If you only want a slight color change, 20 minutes will be your ideal time frame. To make sure your hair color is lifted enough and you bypass that dreaded orange phase, you may need 40-45 minutes.
4. For a more delicate application, wield the brush vertically, to coat only specific strands. For a more intense look, wield the brush horizontally to cover more ground.
5. Don’t get too carried away with too many light pieces. It’s the contrast that makes ombré look the best.
L’Oréal’s ombré hair kit is available in three shades, for the lightest blonde to the darkest brunette and is available in drugstores nationwide for around $12.99. L’Oreal Paris’s newest hair color shades in its Superior Preference Paris, Healthy Look Crème Gloss, Excellence Crème, and Feria Red launch in drugstores nationwide February 2013.
No comments:
Post a Comment